Log in to the Harbor system
Before proceeding with this help guide, you must be logged into the Harbor financial system. For your security, Harbor requires Multi-Factor Authentication (MFA) to complete the login process.
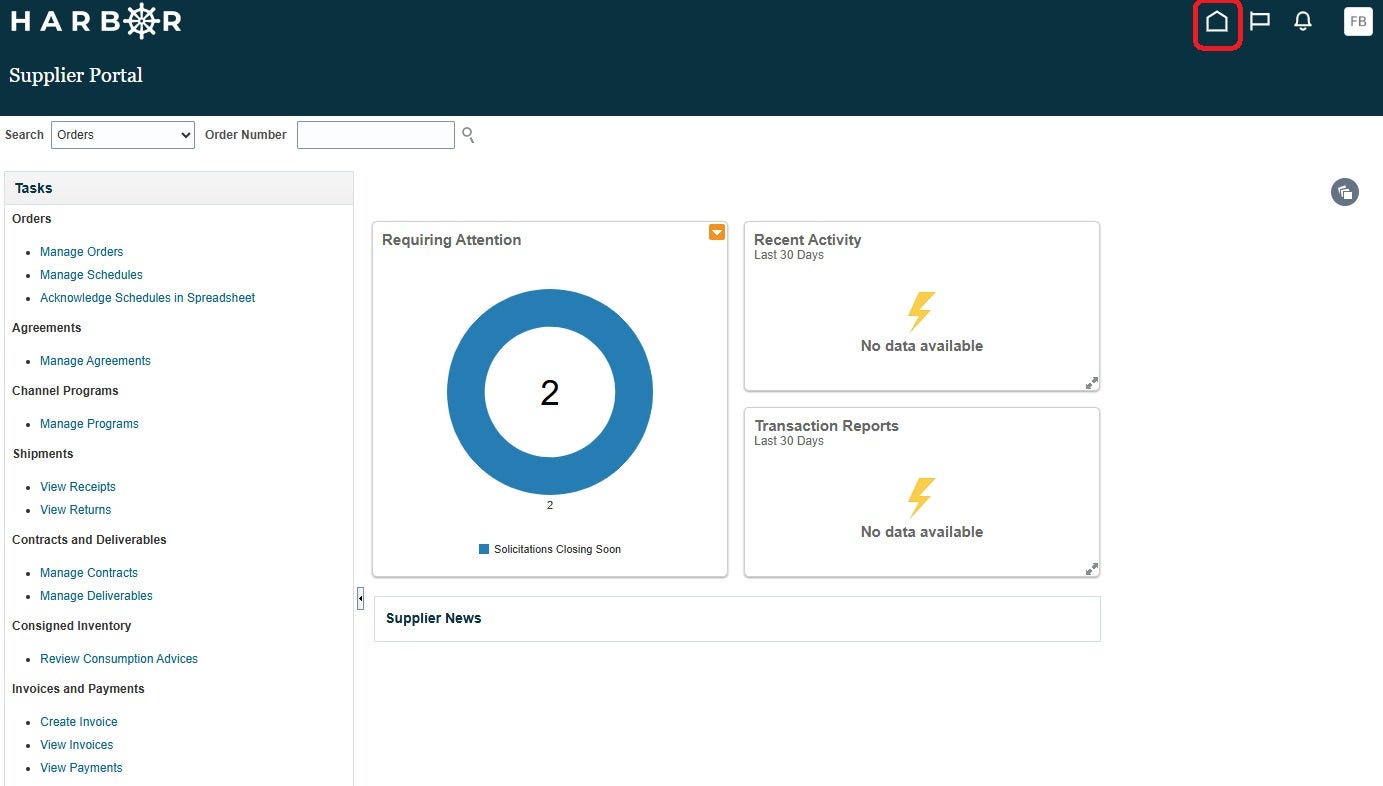
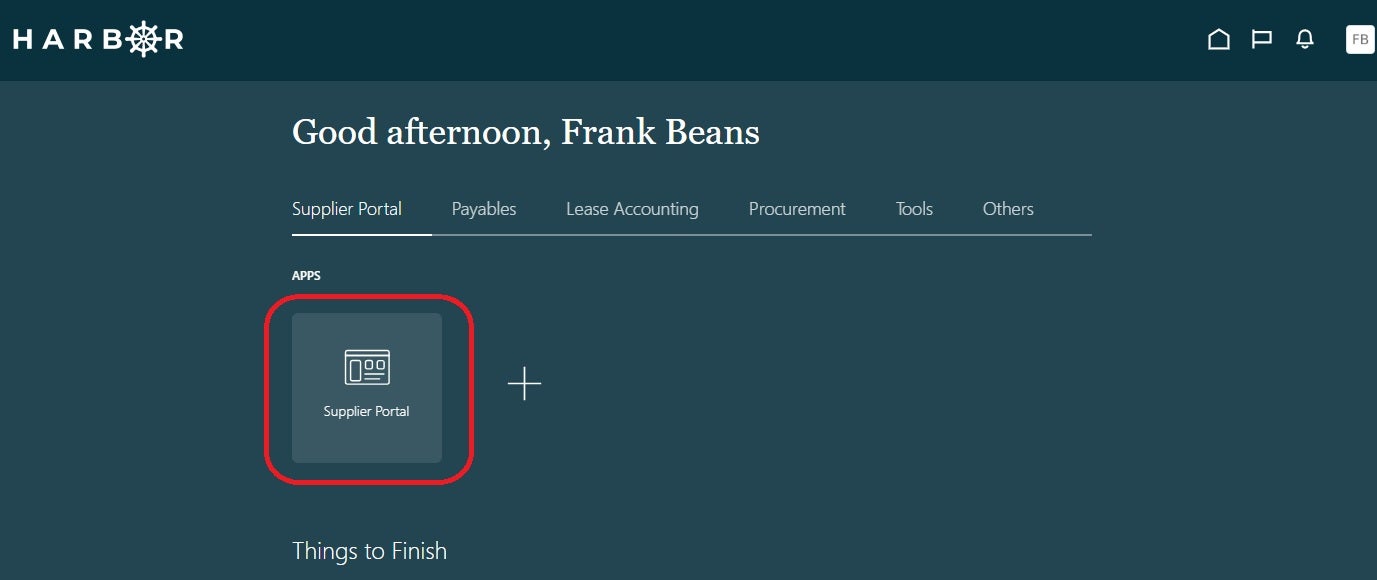
1From the home page, select the Supplier Portal from the Apps section
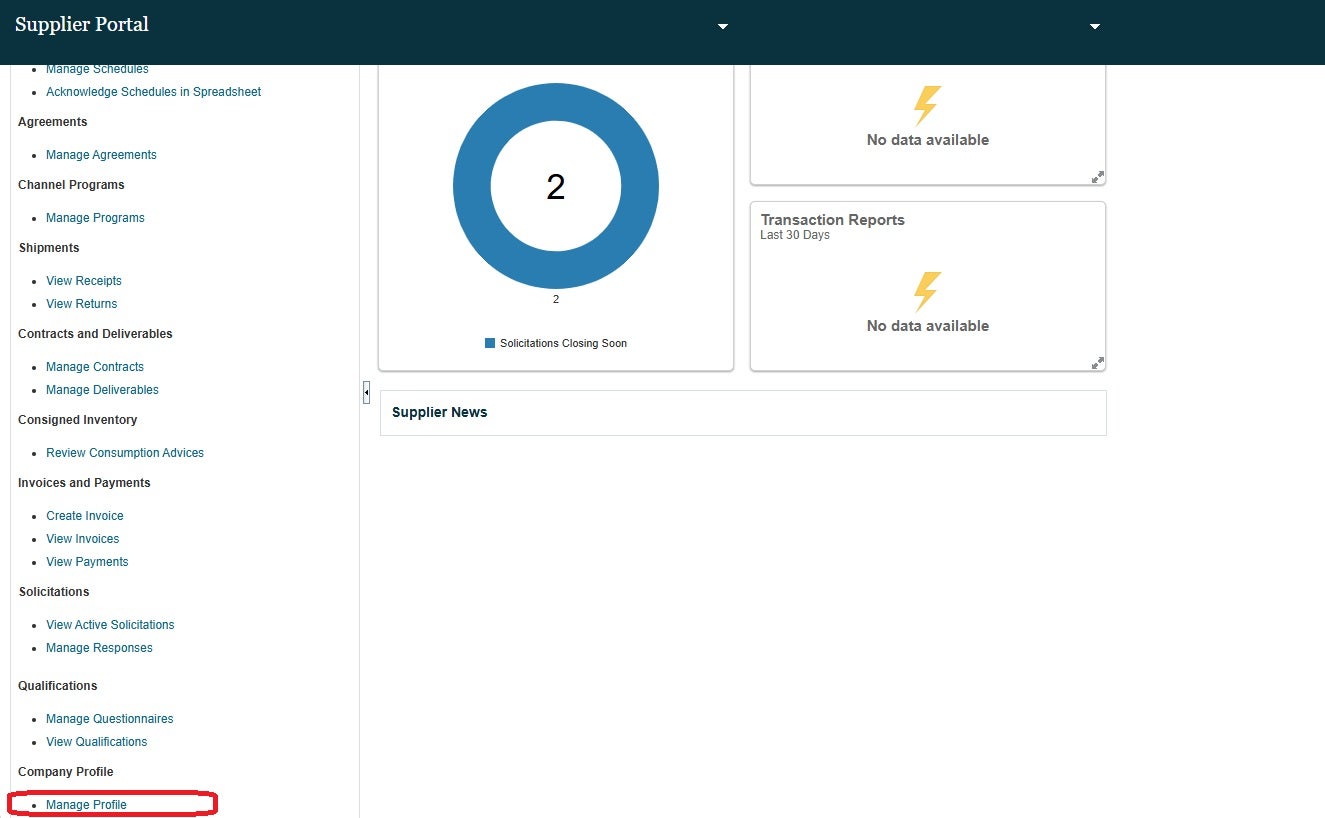
2From Supplier Portal page, scroll down to bottom
3Under Company Profile select Manage Profile
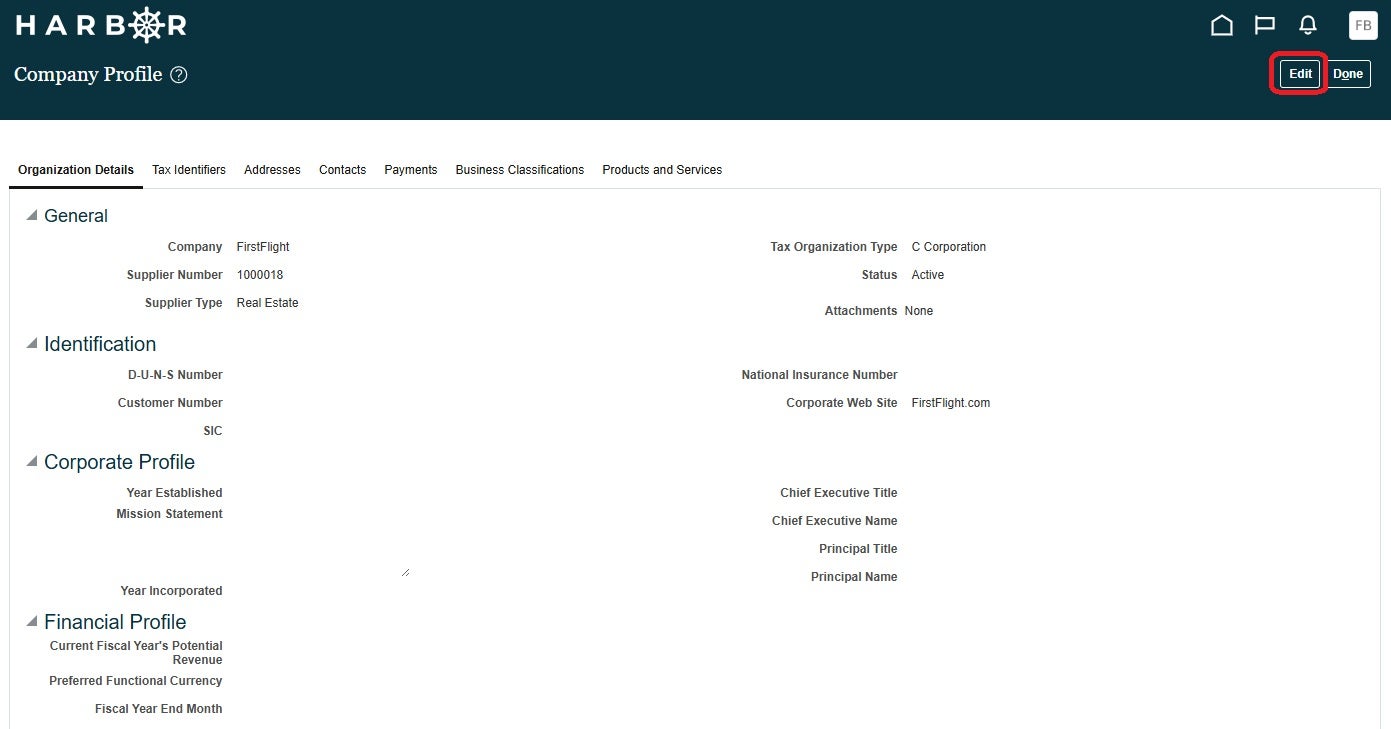
4On Company Profile Page, select EDIT
5Select YES to popup Warning
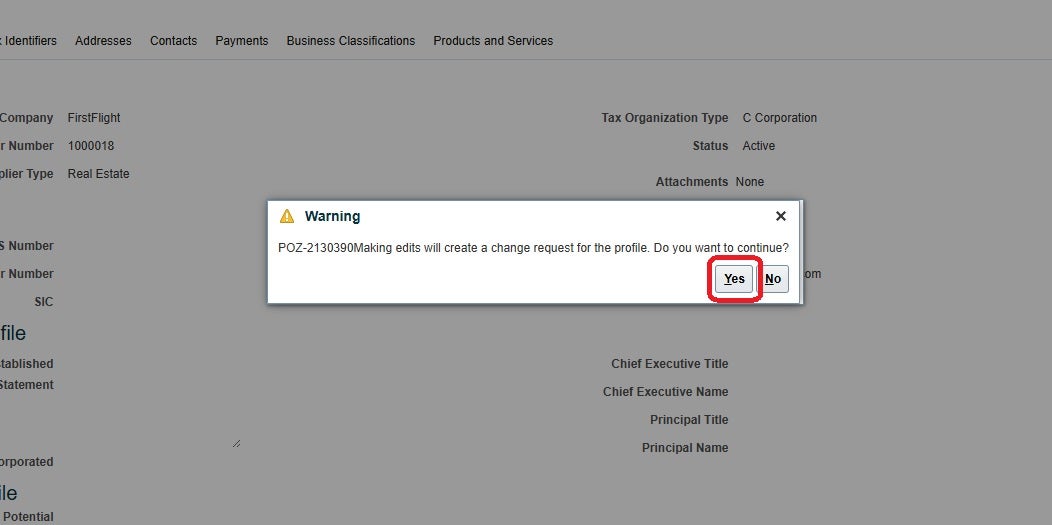
6The Edit Profile will update to an editable state.
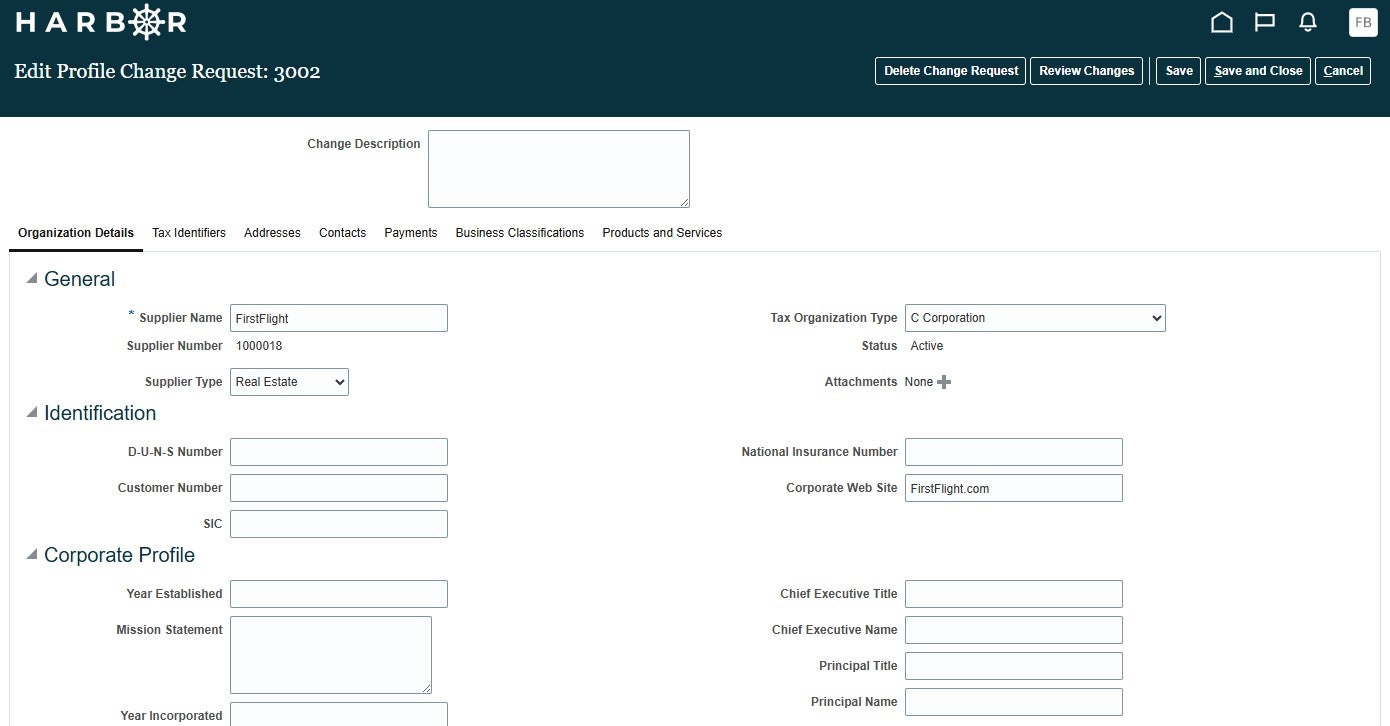
7Provide a Change Description. This should provide a summation of the changes being requested – such as Contact information
8Select Contacts at top
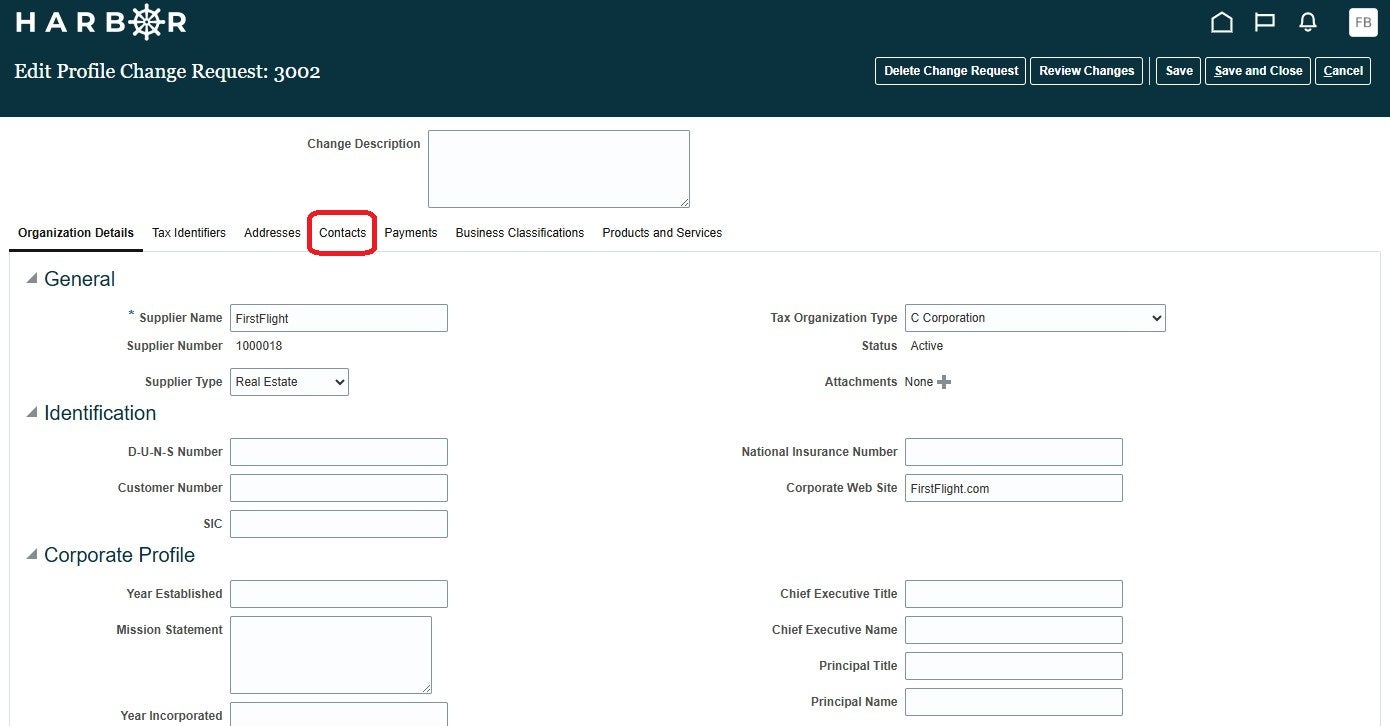
9Once on Contacts page you may Add, Edit or Delete a contact
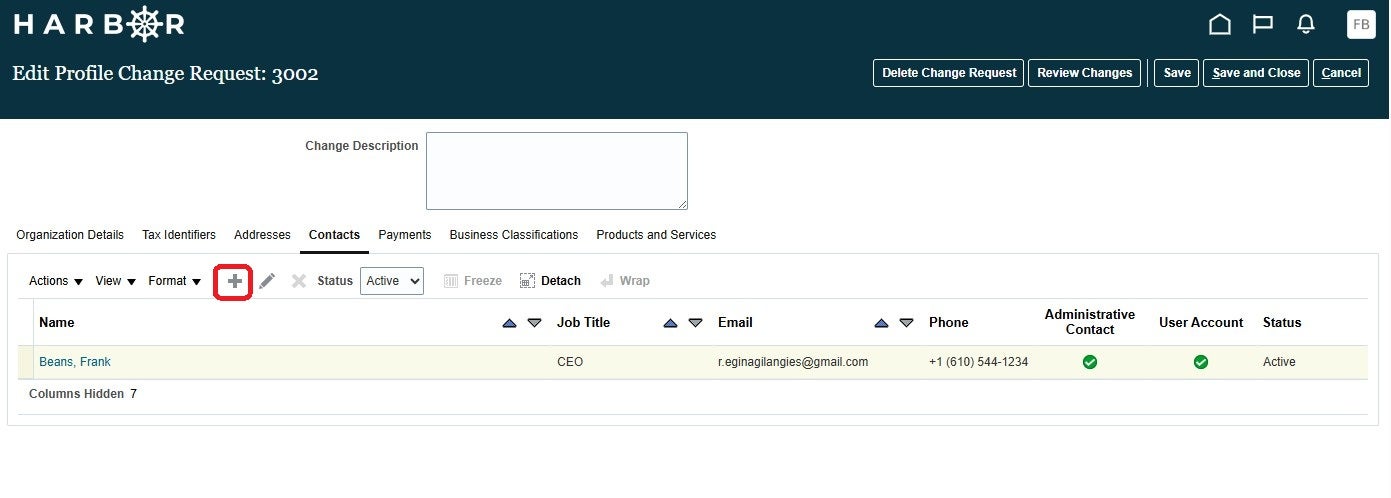
10To Add a contact, select the “+”
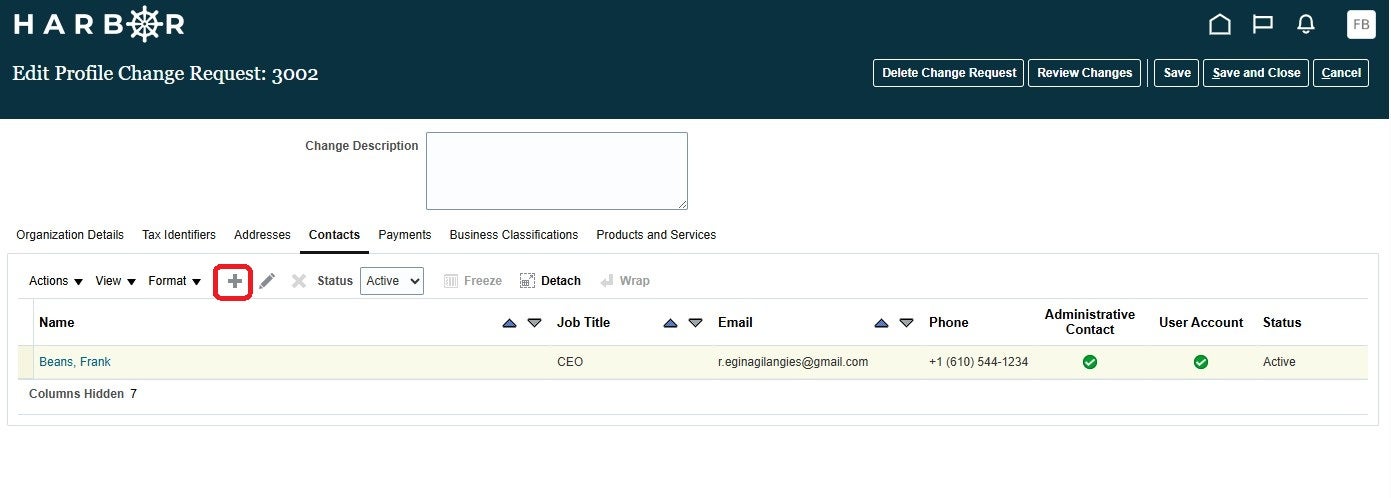
11A Create Contact window will open.
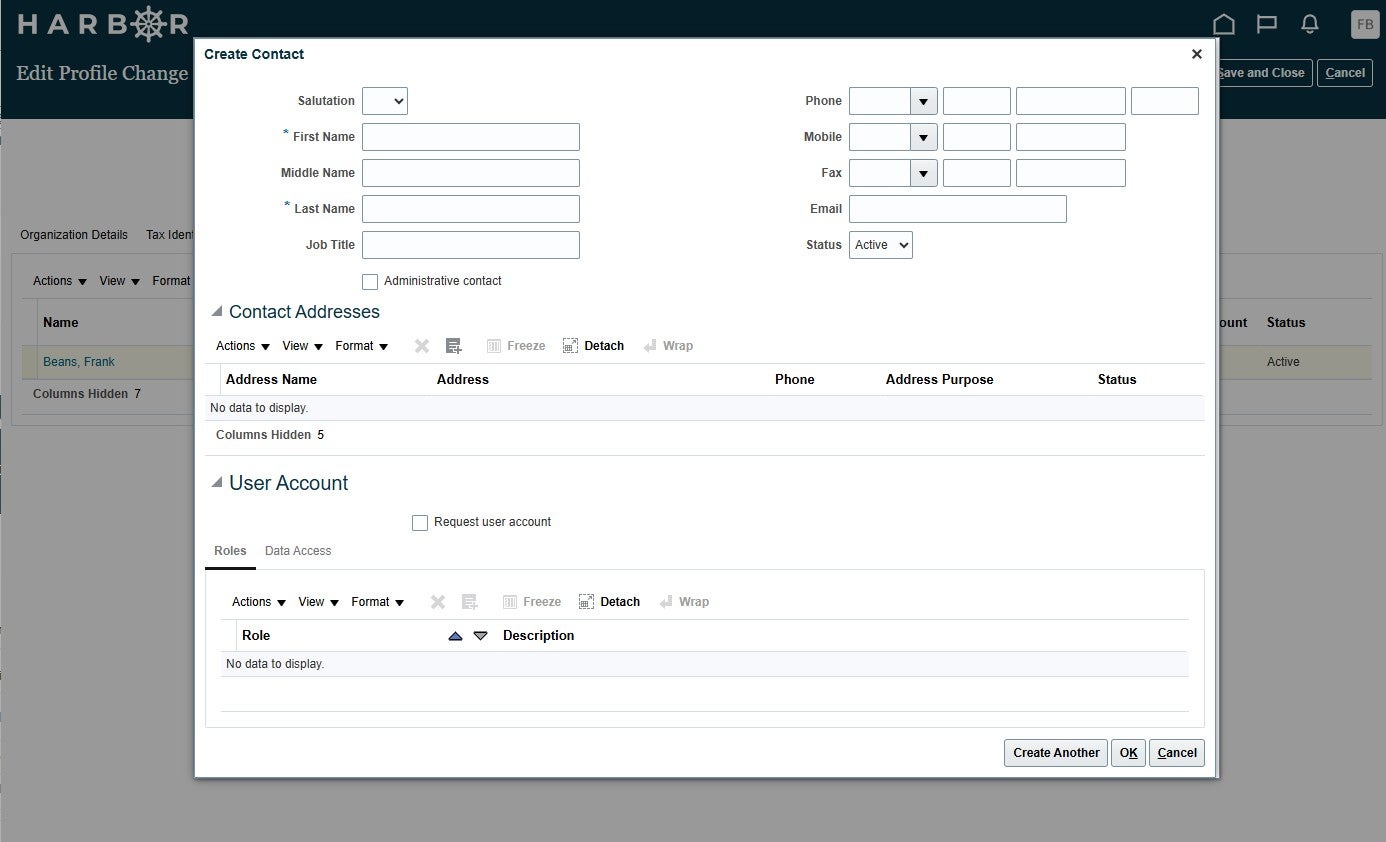
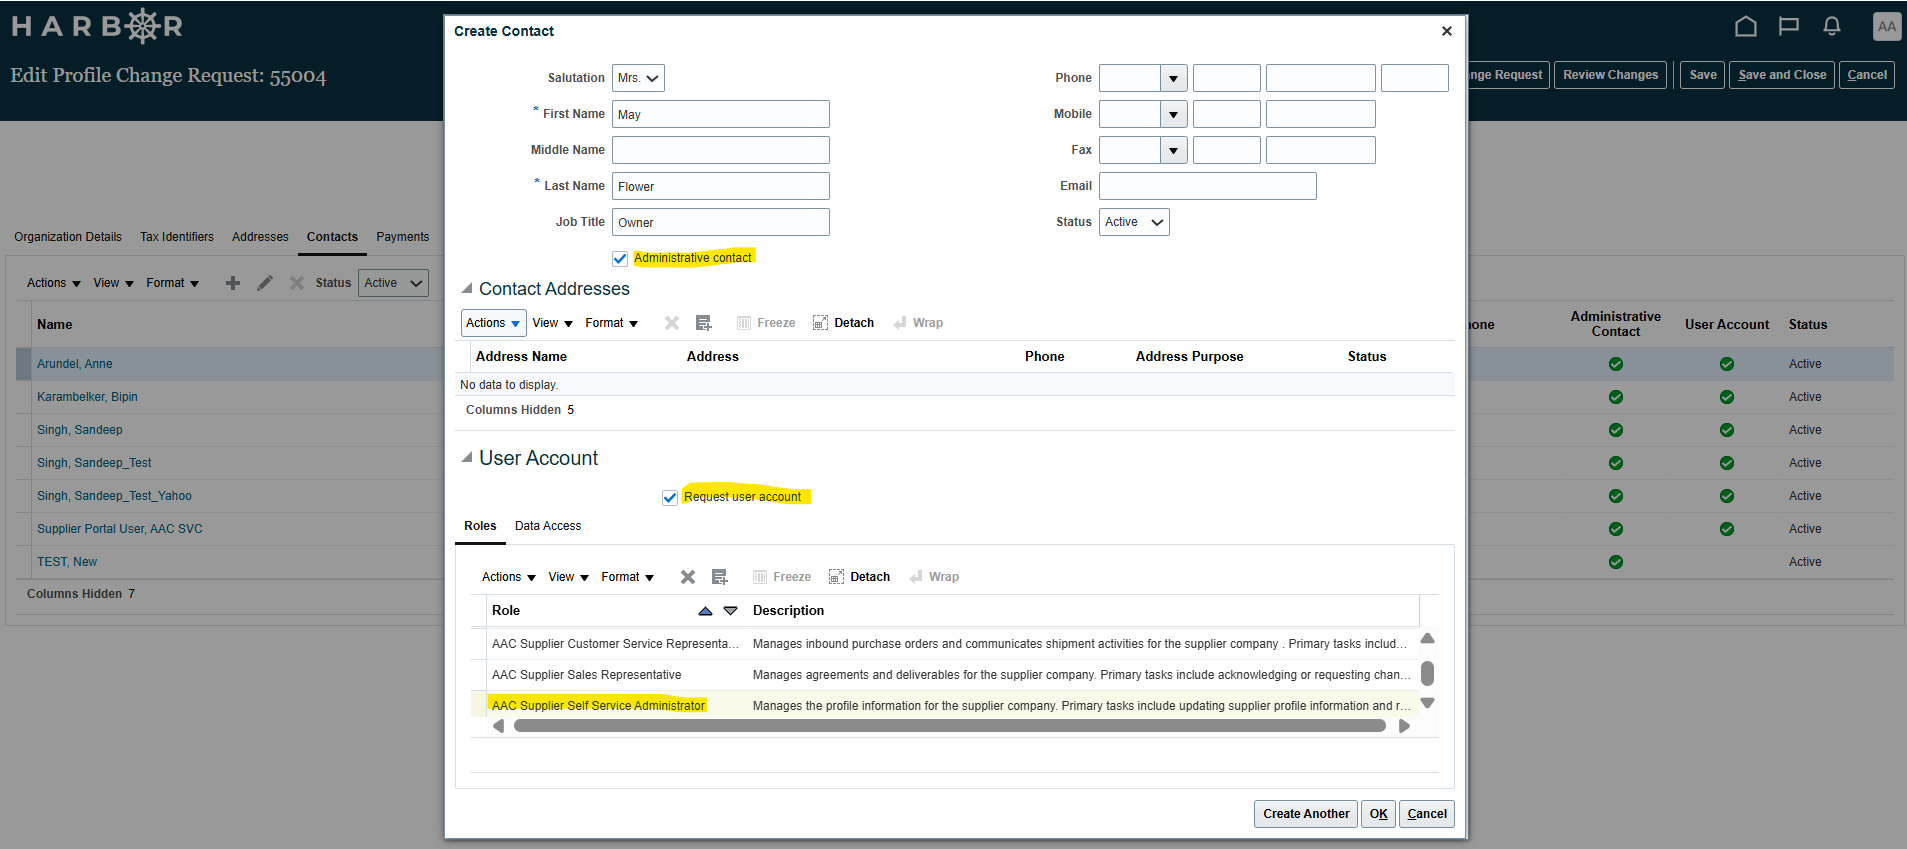
12If you would like for this contact to have the Administrative contact role, you MUST select Administrative contact and Request User Account as highlighted below.
13You also need to add a Contact Address by selecting Actions, then Select and Add
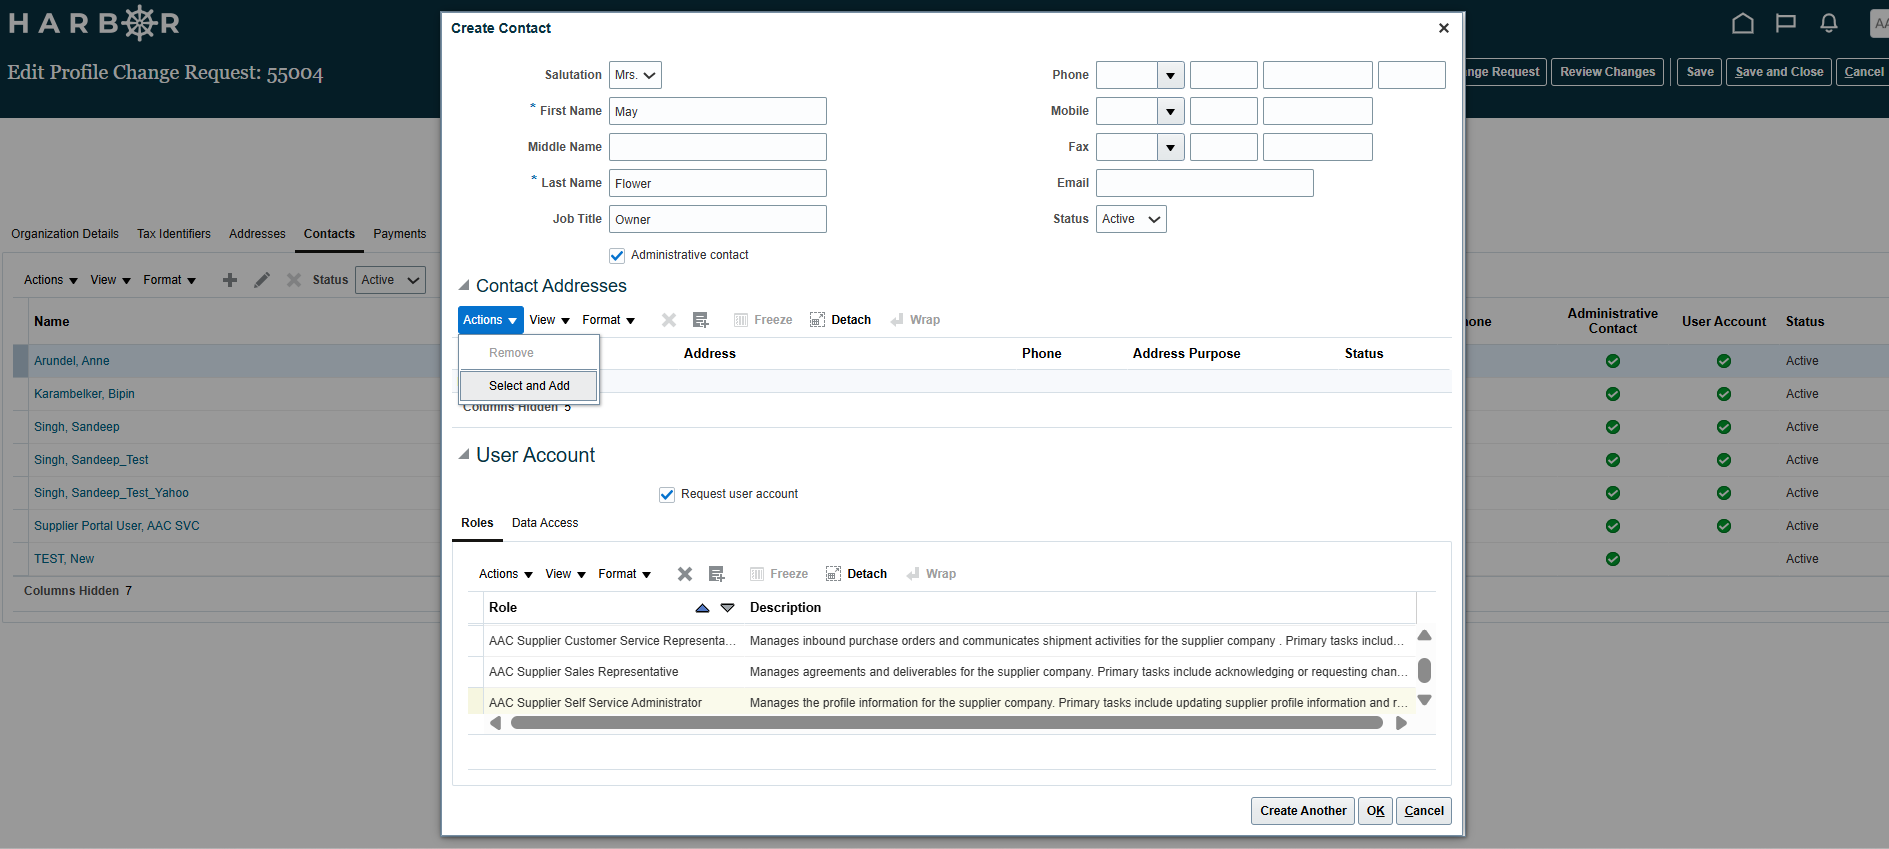
14Select the ordering and remit address, for most of the imported suppliers and their addresses this is checked by default.
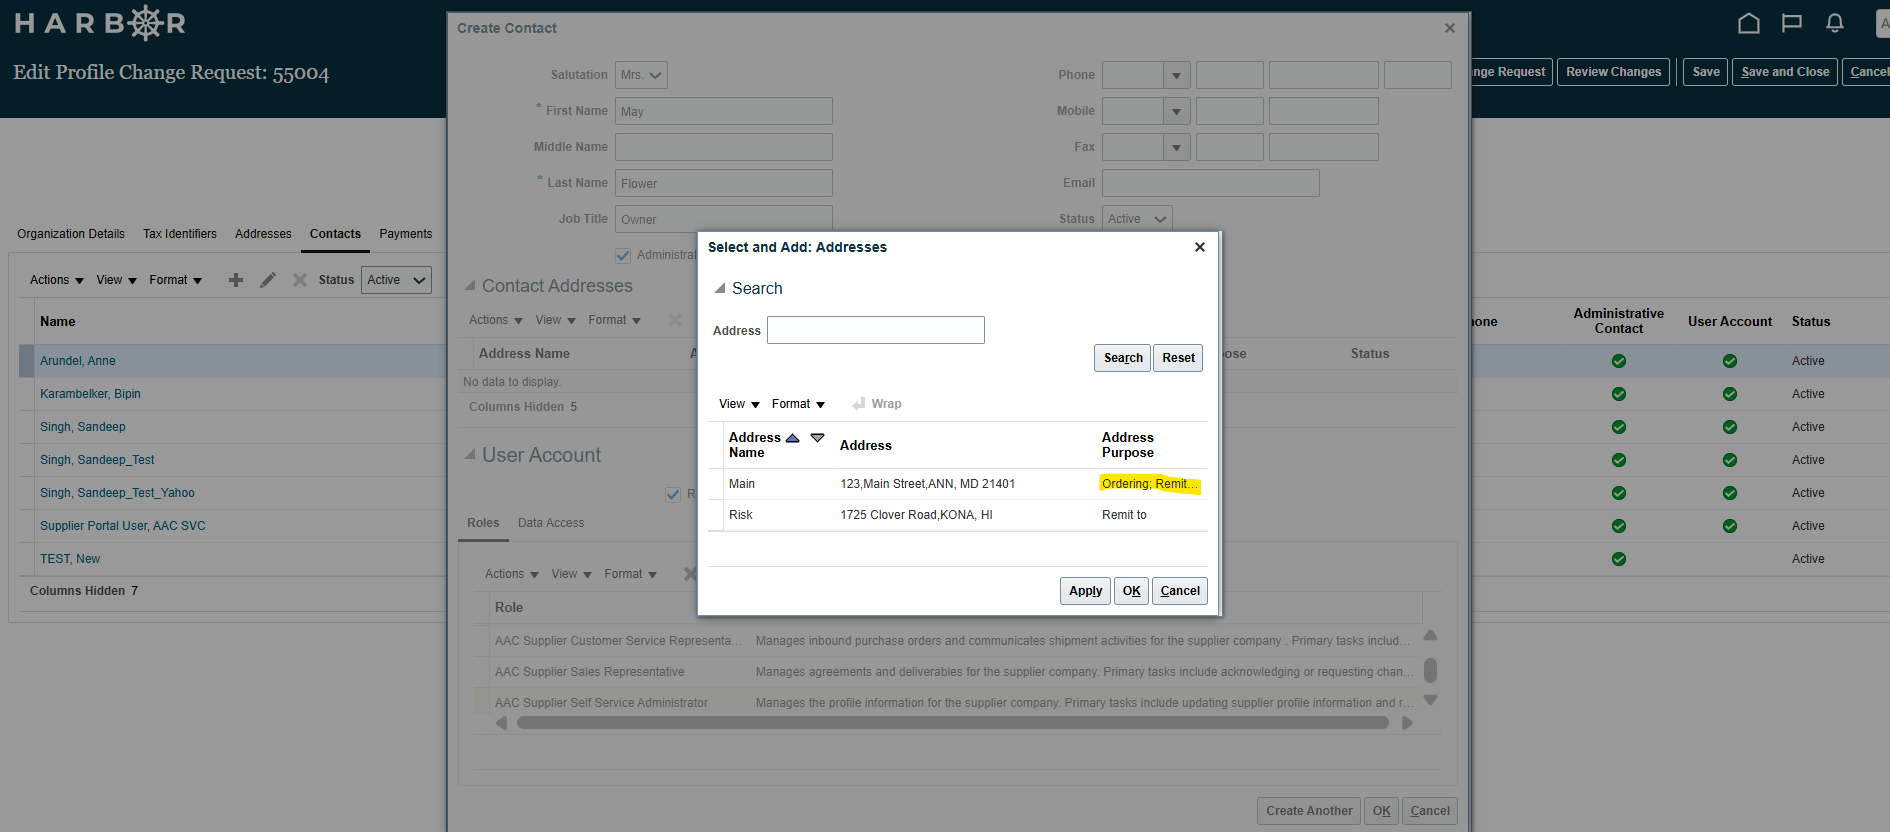
15Provide the information as appropriate on the Create Contact screen
16When selecting a user role, read through each option and select at least one applicable role. Users can have multiple roles. All suppliers must have at least one contact identified as “AAC Supplier Self Service Administrator” to manage your organization’s access to the supplier portal.
17Select OK to save the changes and return to the Contacts page
18Select Create Another to save the changes and add another Contact
19Select Cancel to cancel the current contact being created
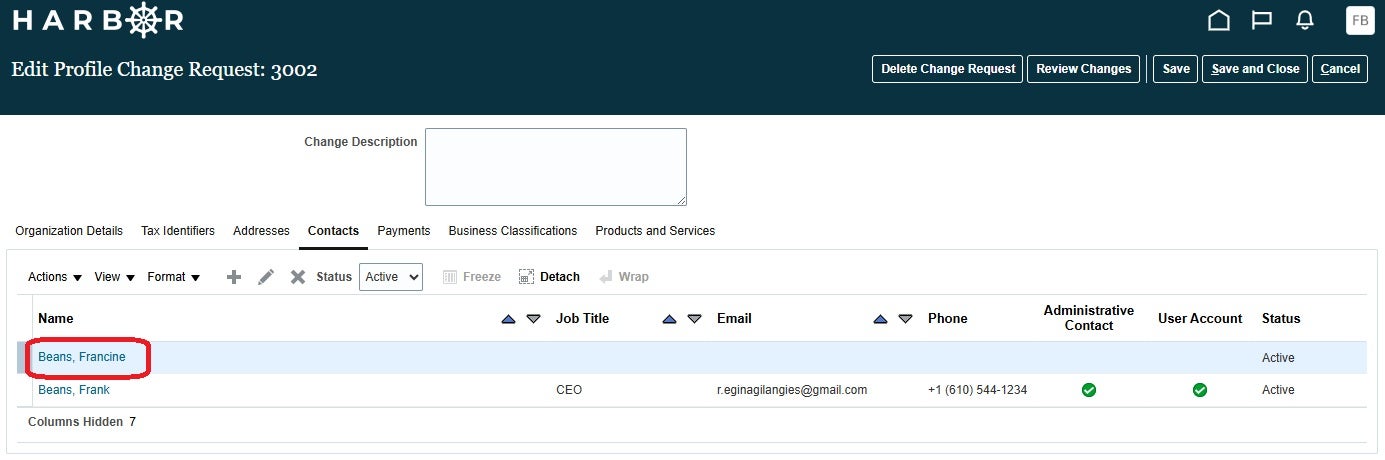
20To Edit a contact, highlight the contact so it is blue and then select the pencil OR select the Name of the contact you want to edit.
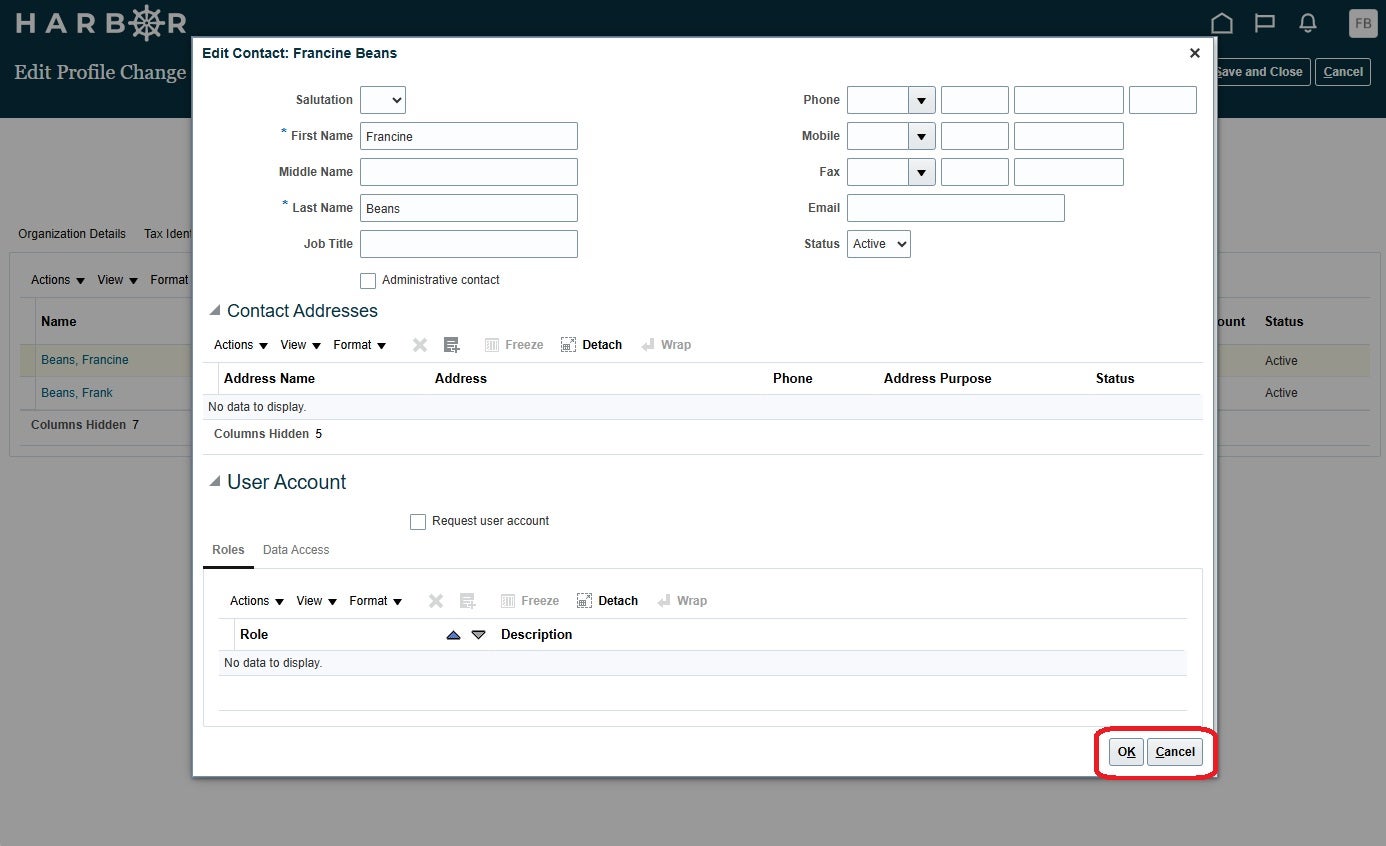
21The edit screen will open. Edit the information as needed
22Select OK to save the changes
23Select Cancel to cancel the edit
24To delete a contact
25Highlight the row the contact is on so it turns blue
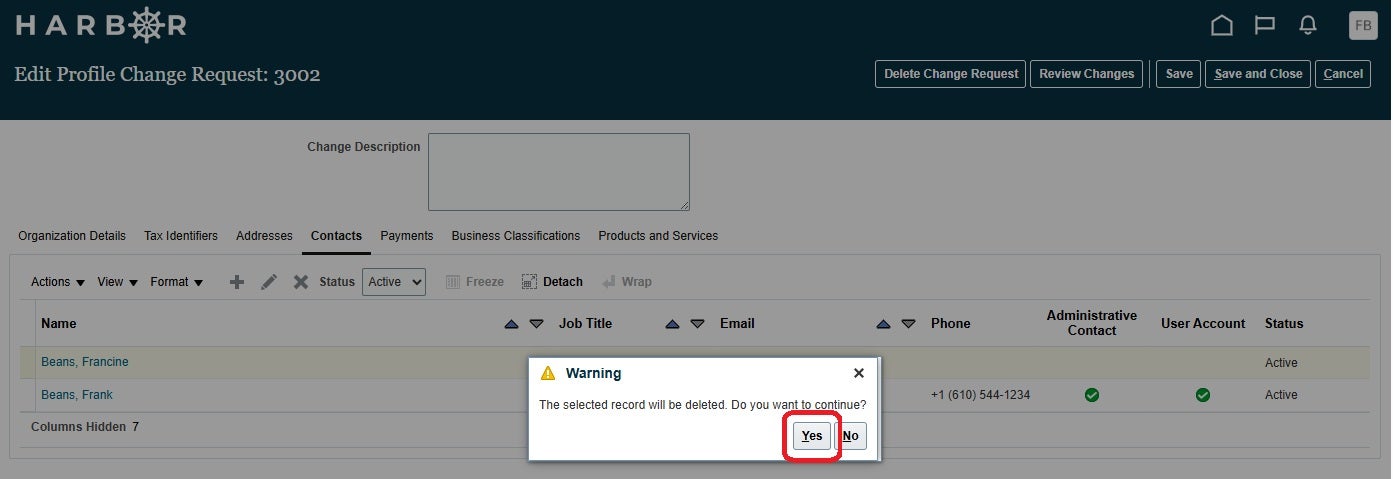
26Select the “X” to delete the contact
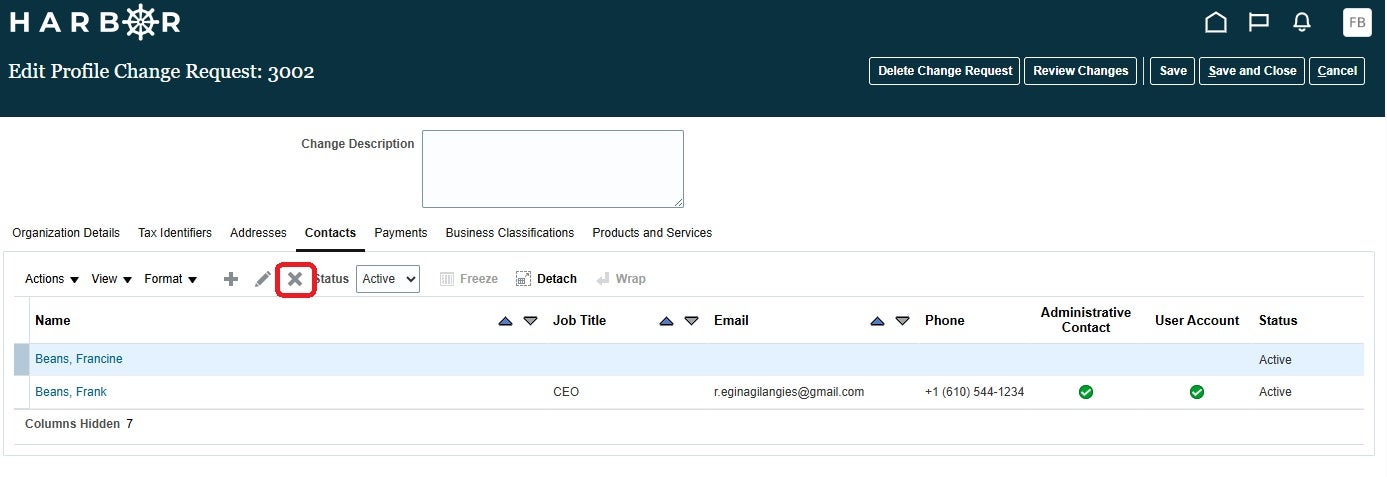
27Select Yes to the warning popup
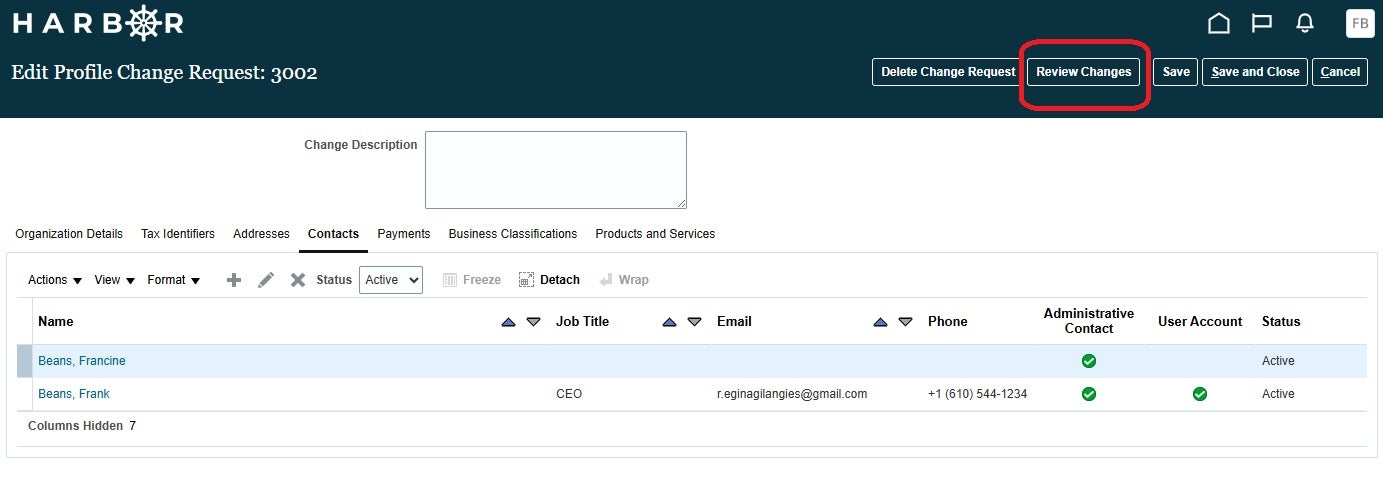
28Once all changes are made select Review Changes
29Review changes
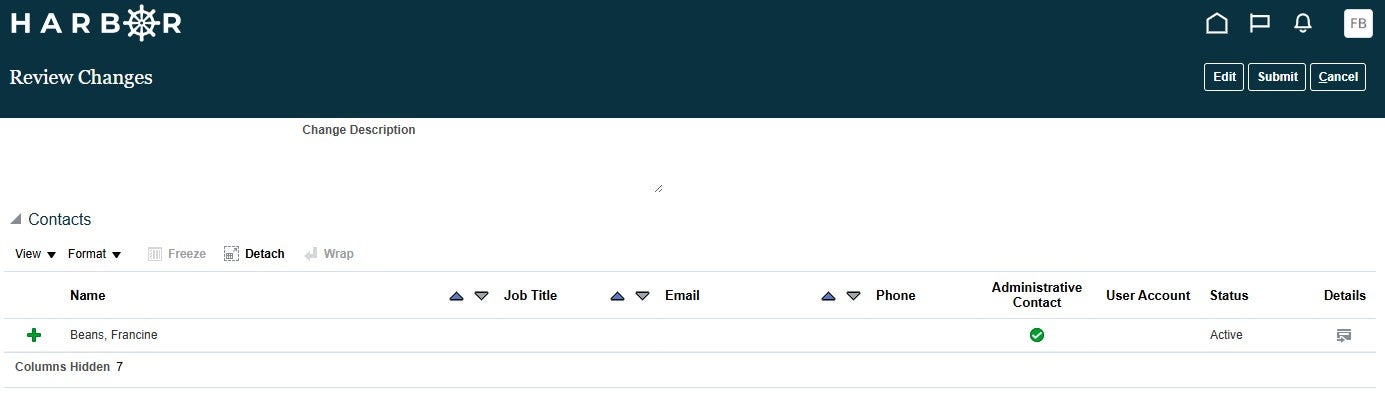
30The Changes may be:
- Cancelled (no updates made)
- Edited (takes you back to the screens to edit information)
- Submitted – this submits the changes for approval
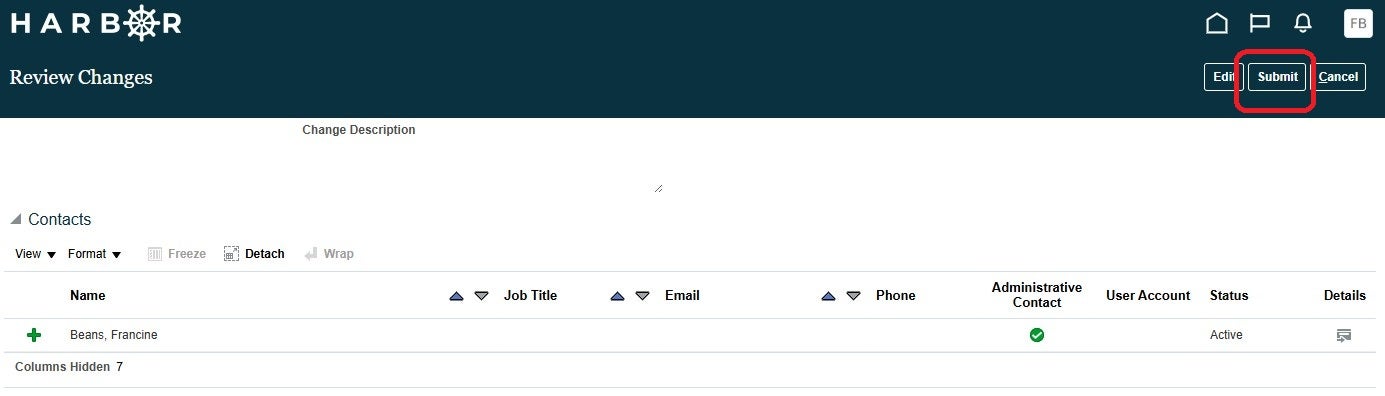
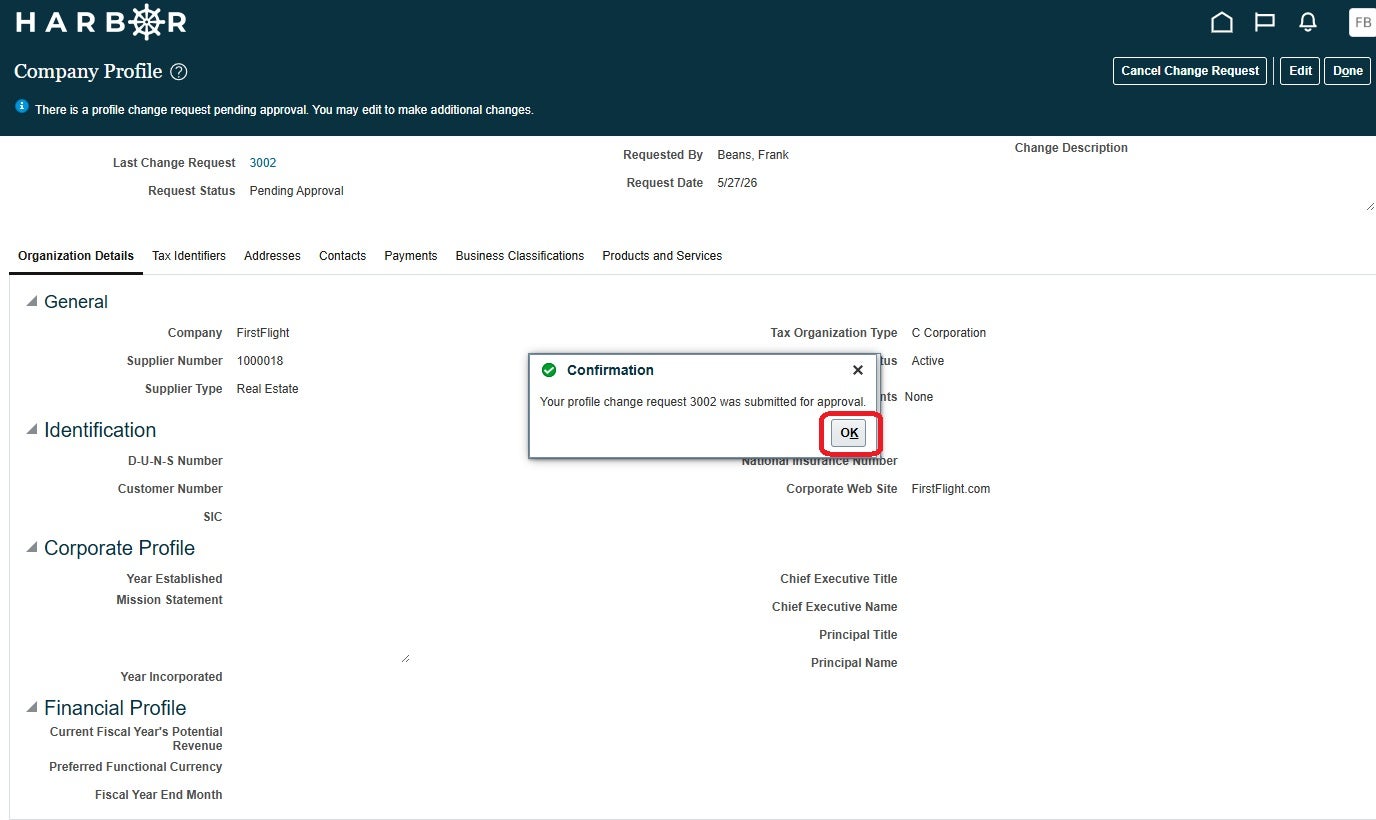
The updated information is sent for approval Select OK on confirmation.
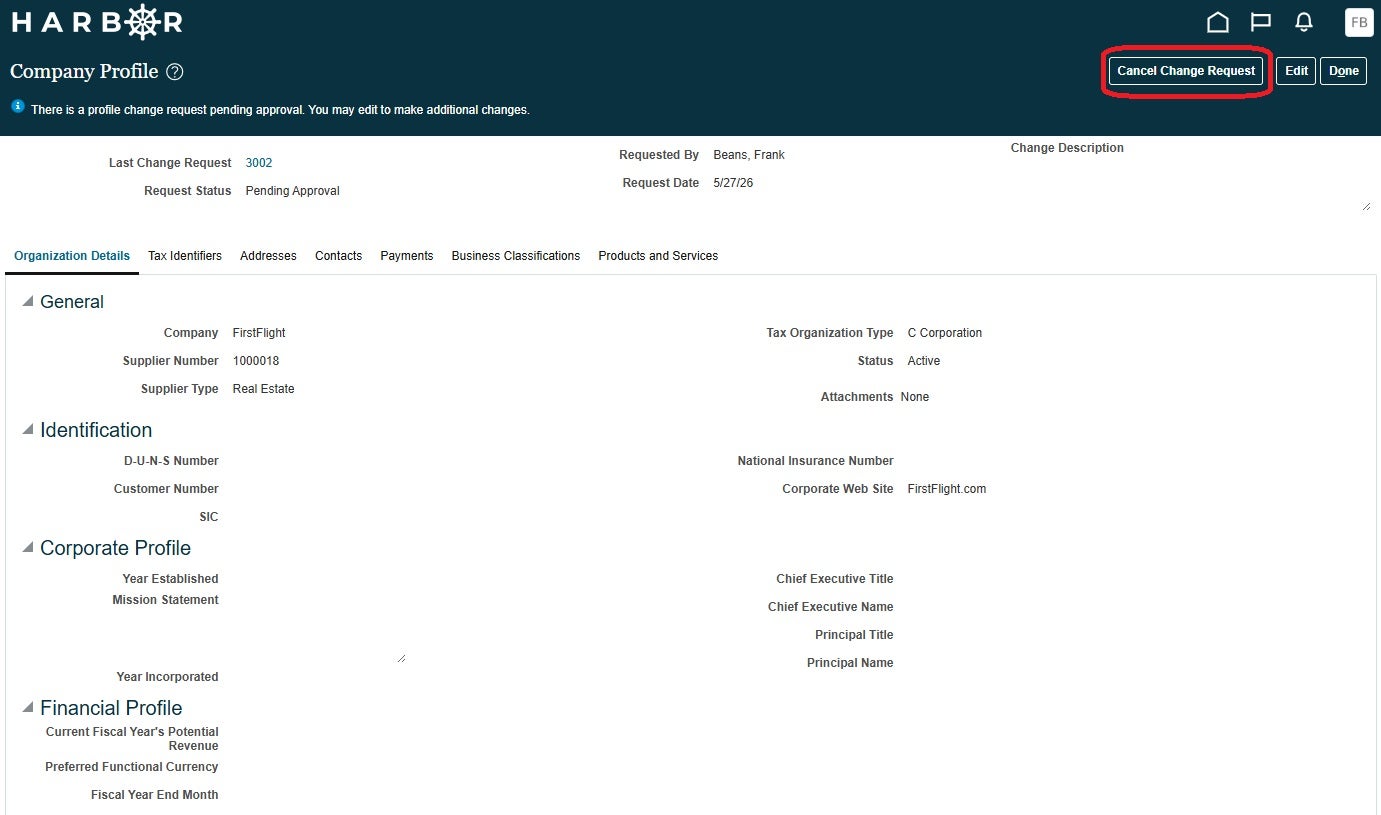
31The change request can be canceled if needed by selecting Cancel Change Request and then select Yes from the popup
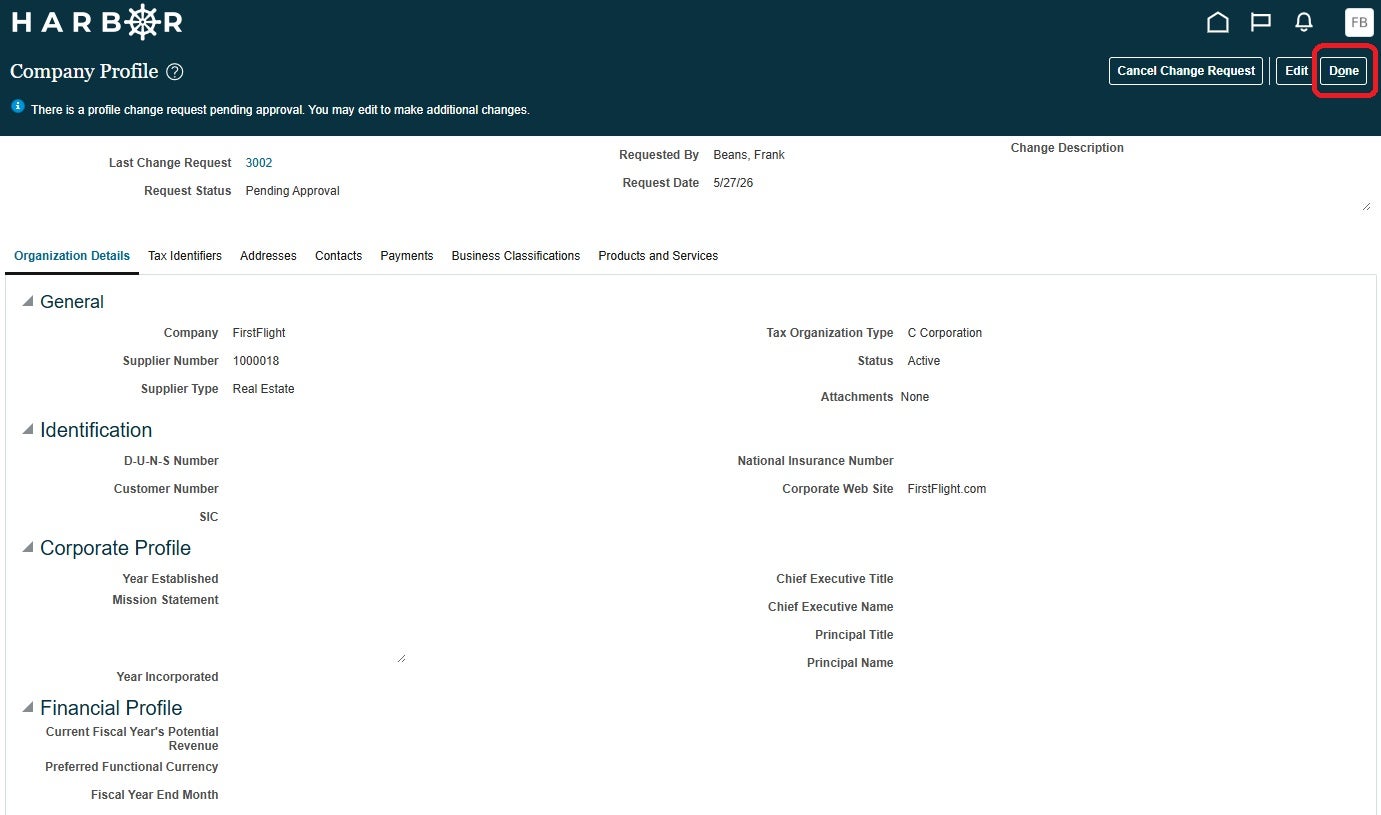
32Select Done to return to Supplier Portal
33Select HOME to return to the main page