Log in to the Harbor system
Before proceeding with this help guide, you must be logged into the Harbor financial system. For your security, Harbor requires Multi-Factor Authentication (MFA) to complete the login process.
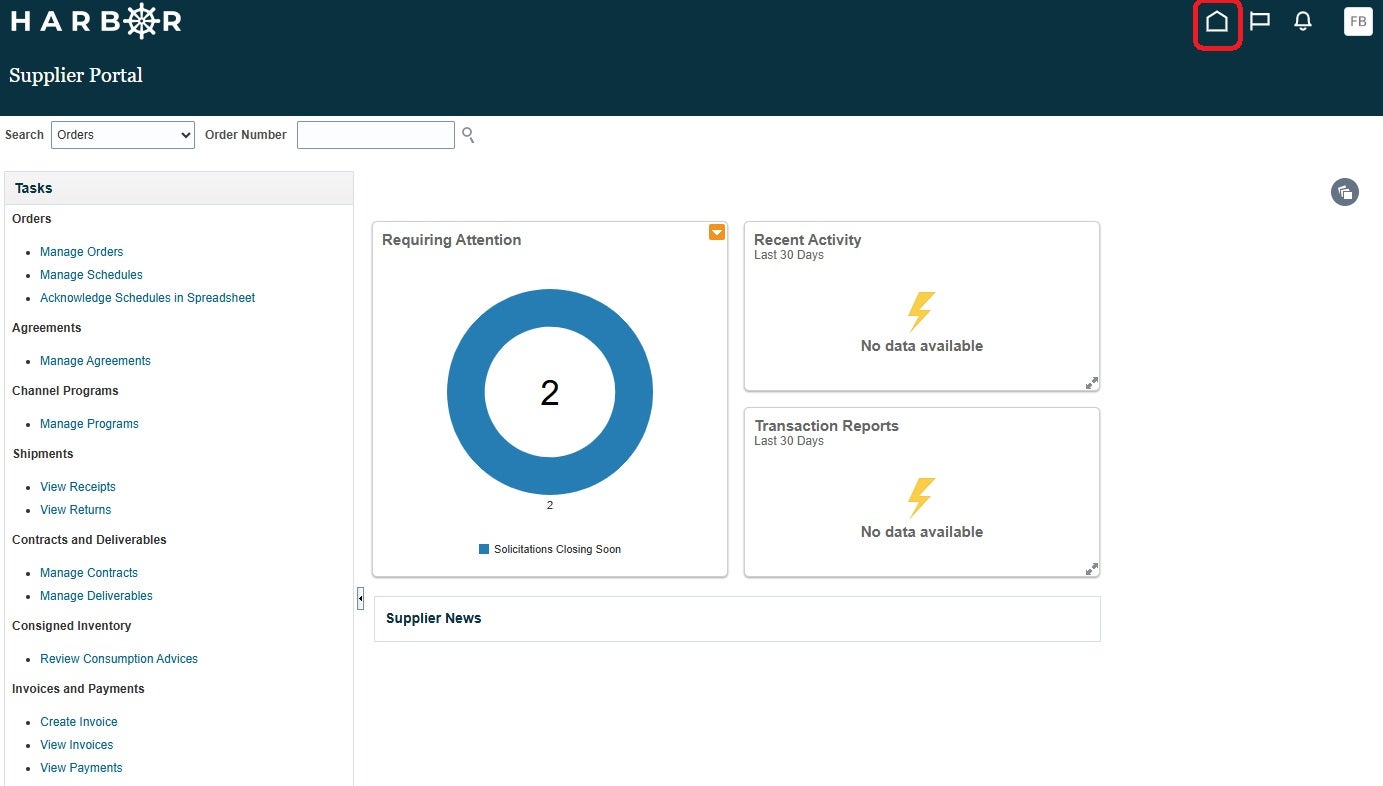
1From the home page, select the Supplier Portal from the Apps section
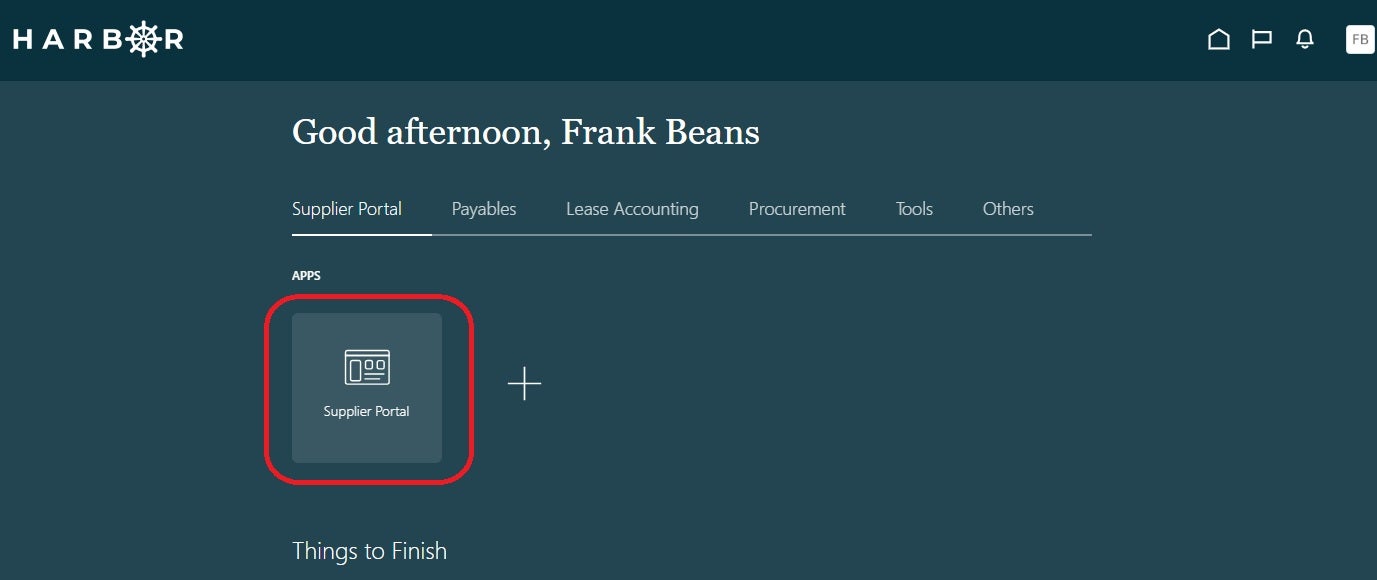
2From Supplier Portal page, scroll down to bottom
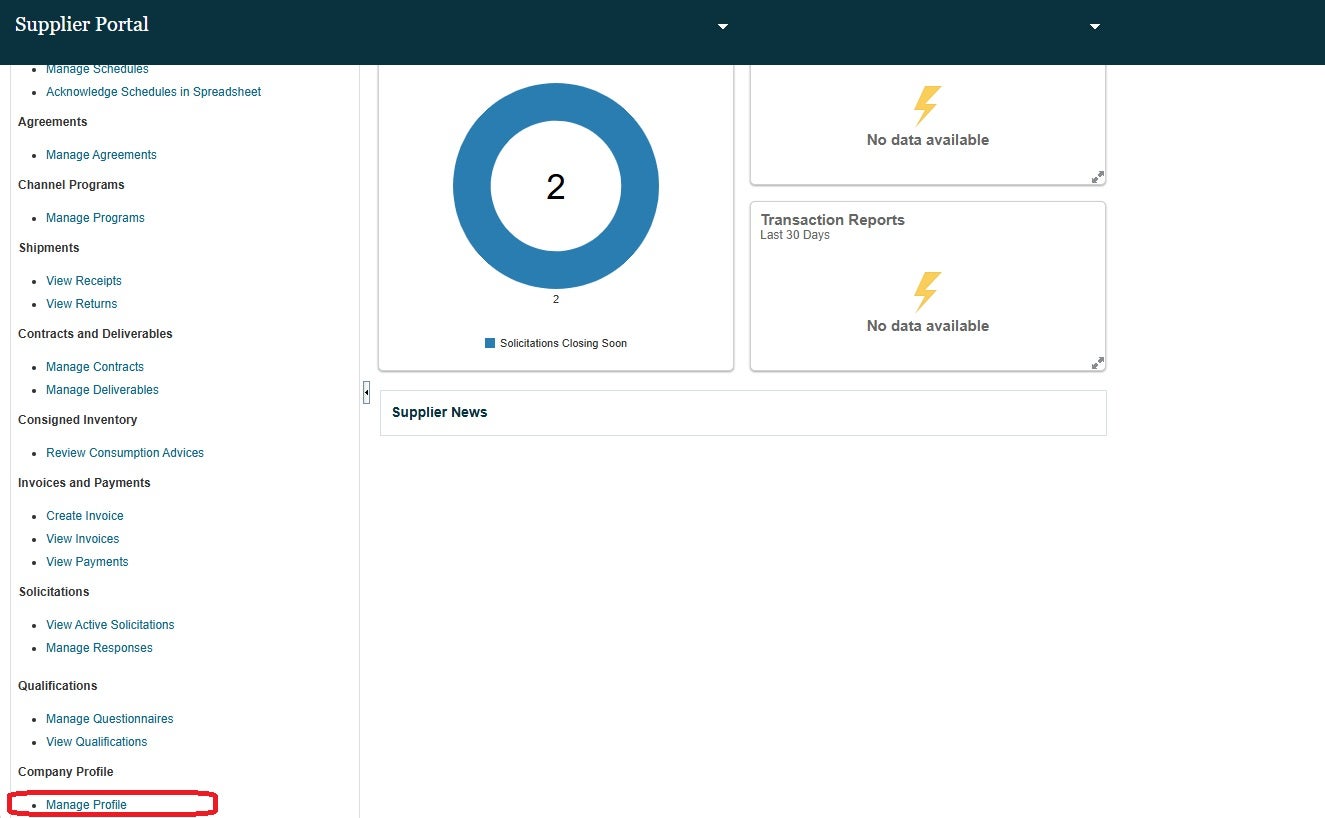
3Under Company Profile select Manage Profile
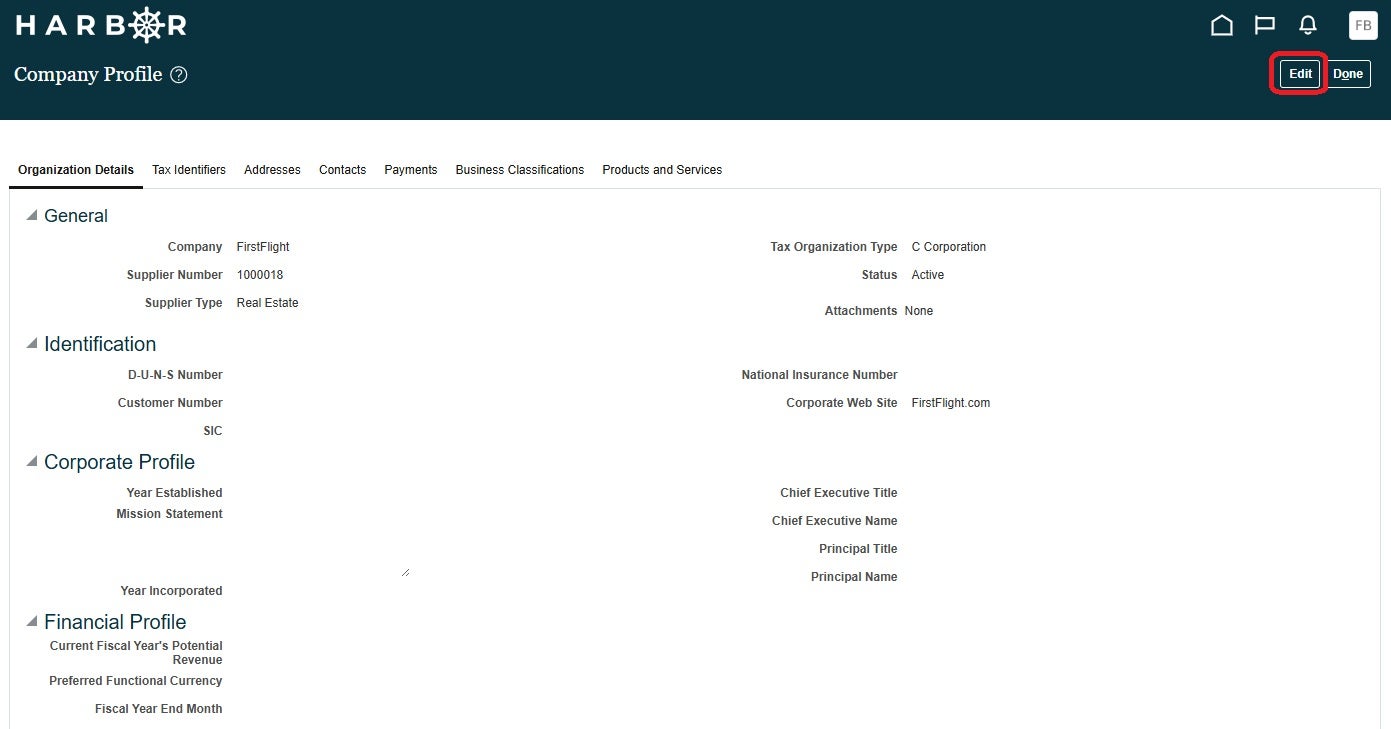
4On Company Profile Page, select EDIT
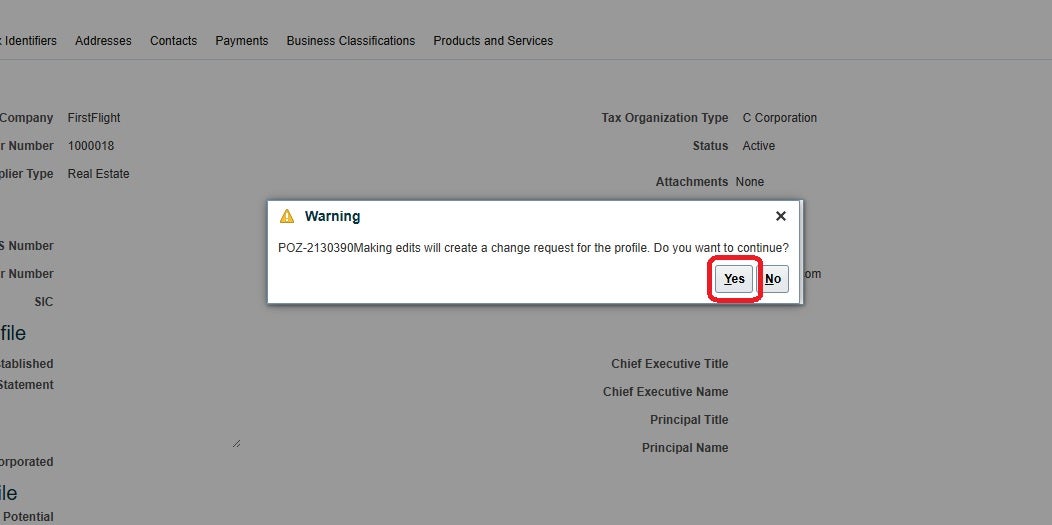
5Select YES to popup Warning
6The Edit Profile will update to an editable state.
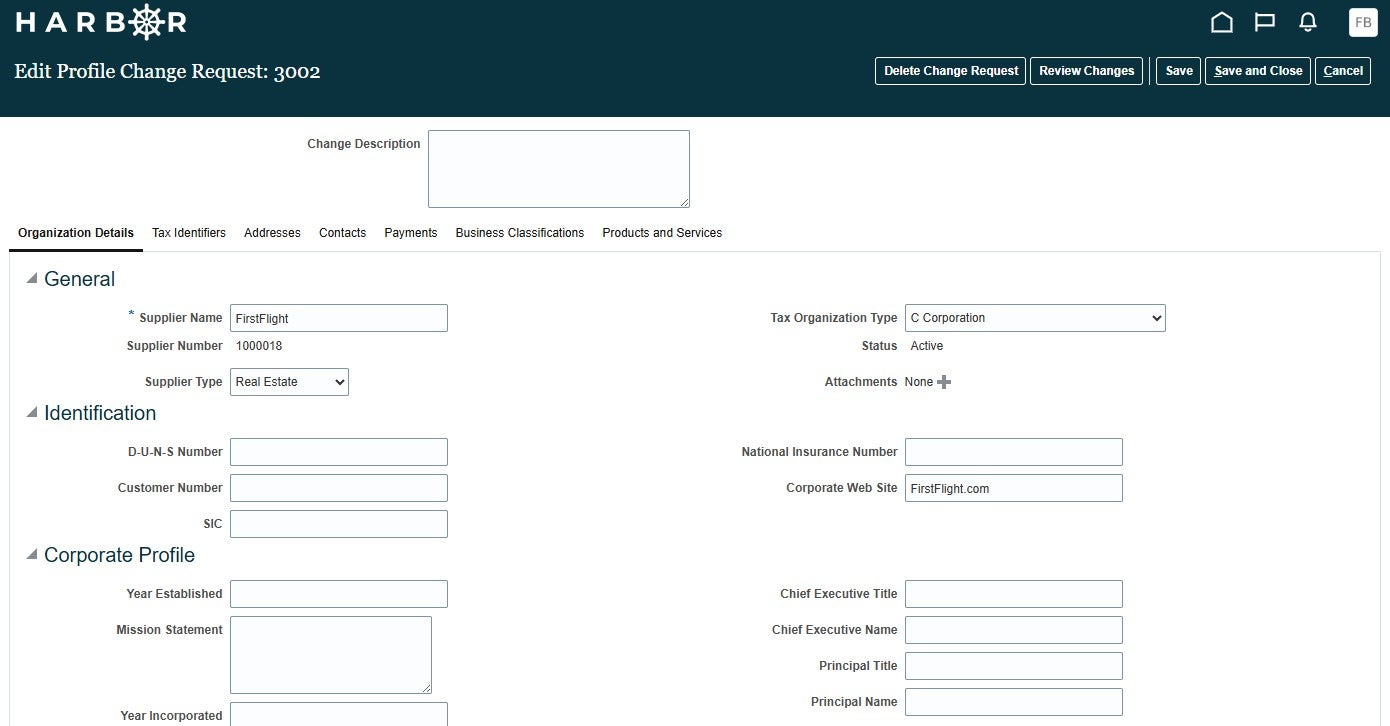
7Provide a Change Description. This should provide a summation of the changes being requested – such as Contact information
8Select Business Classifications at top
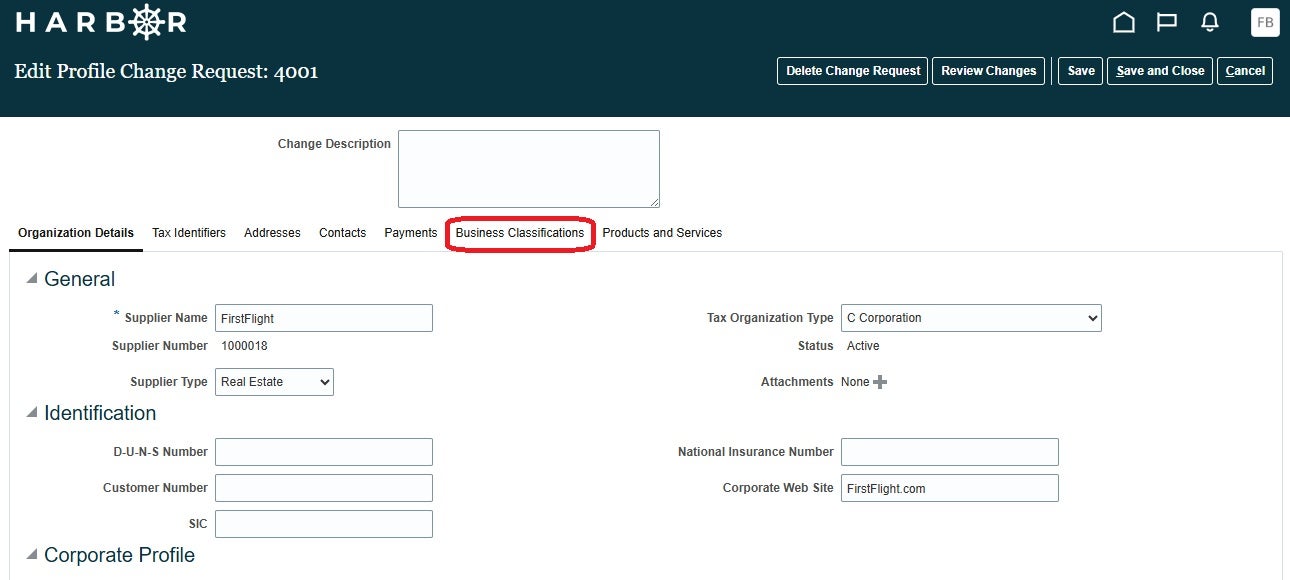
9Once on Business Classifications page you may Add, Edit or Delete a Business Classification
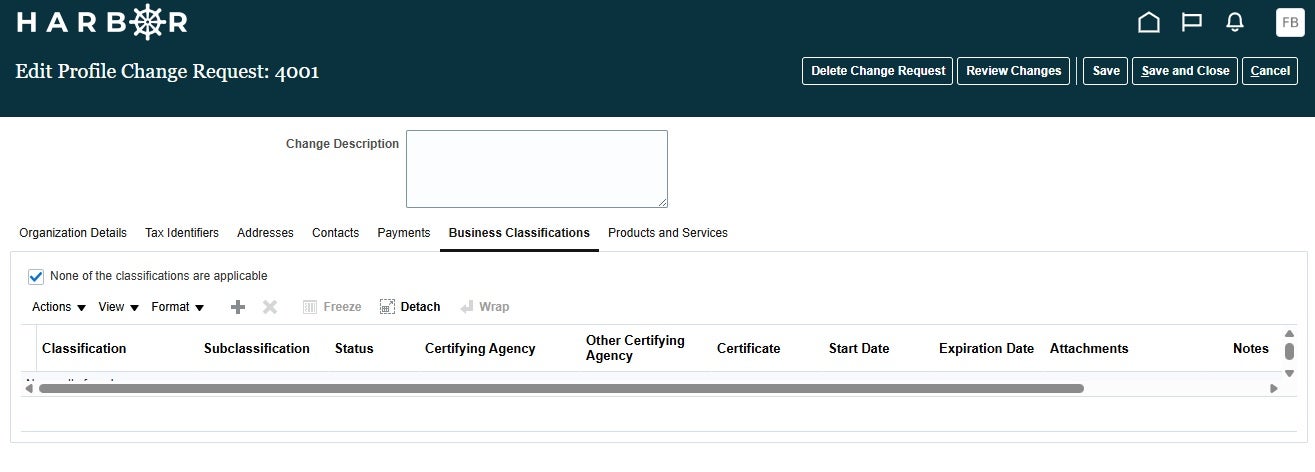
10To Add a Business Classification, select Actions 🡪 Add or the “+”
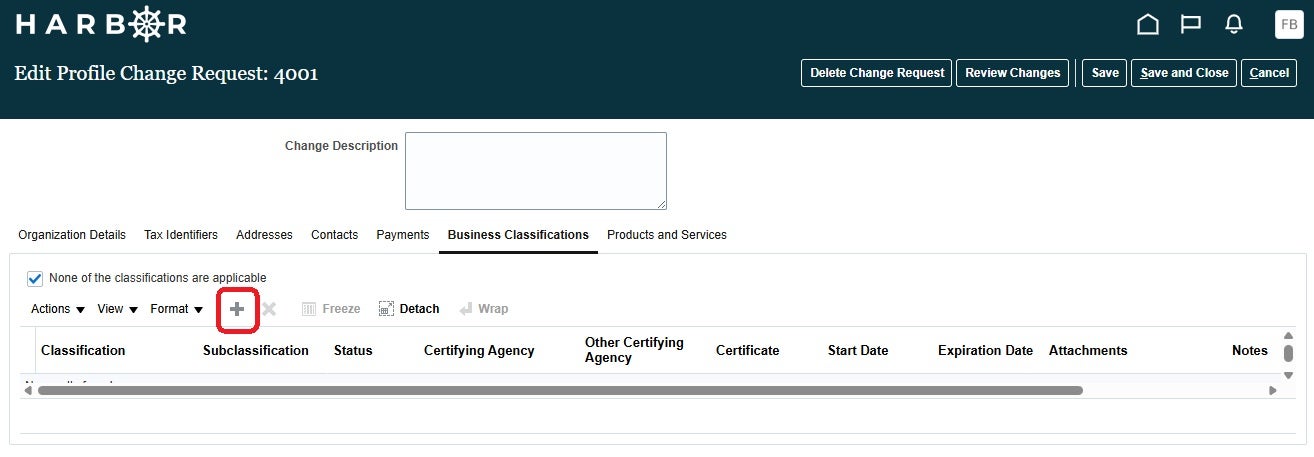
11A new line in the table will open for editing.
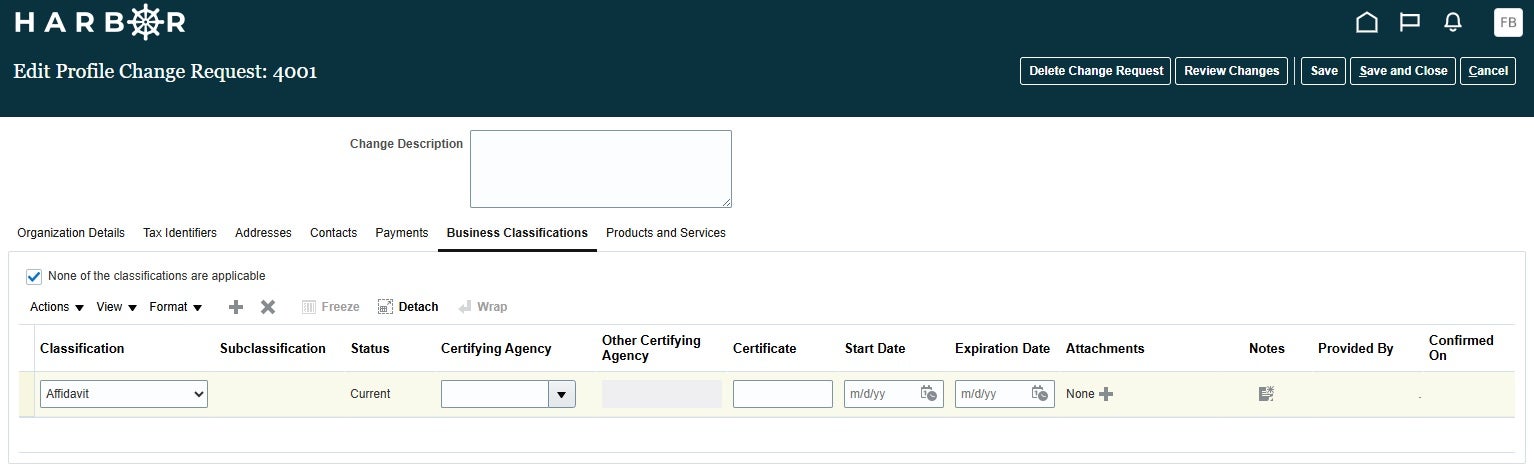
12Provide appropriate information.
- Select classification from drop down
- Select subclassification from drop down if applicable
- Select Certifying Agency from dropdown / search
- Provide Other Certifying Agency if OTHER is selected from Certifying Agency
- Provide Certificate information
While adding any line you may edit any additional line as well
13To save changes select Save
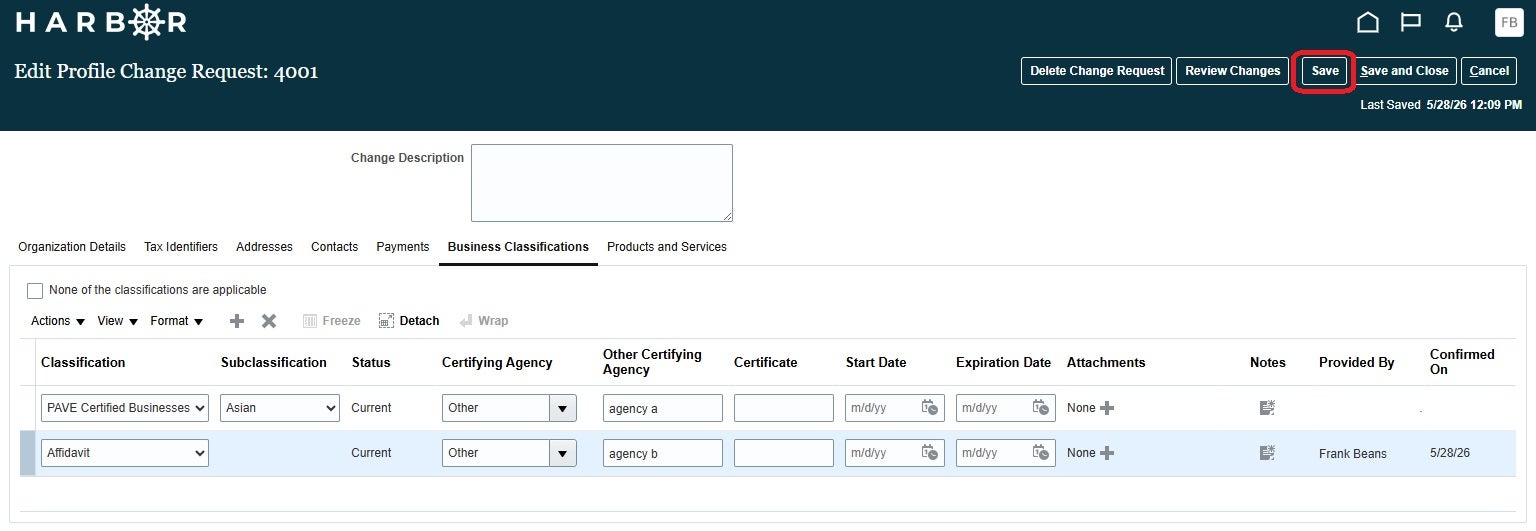
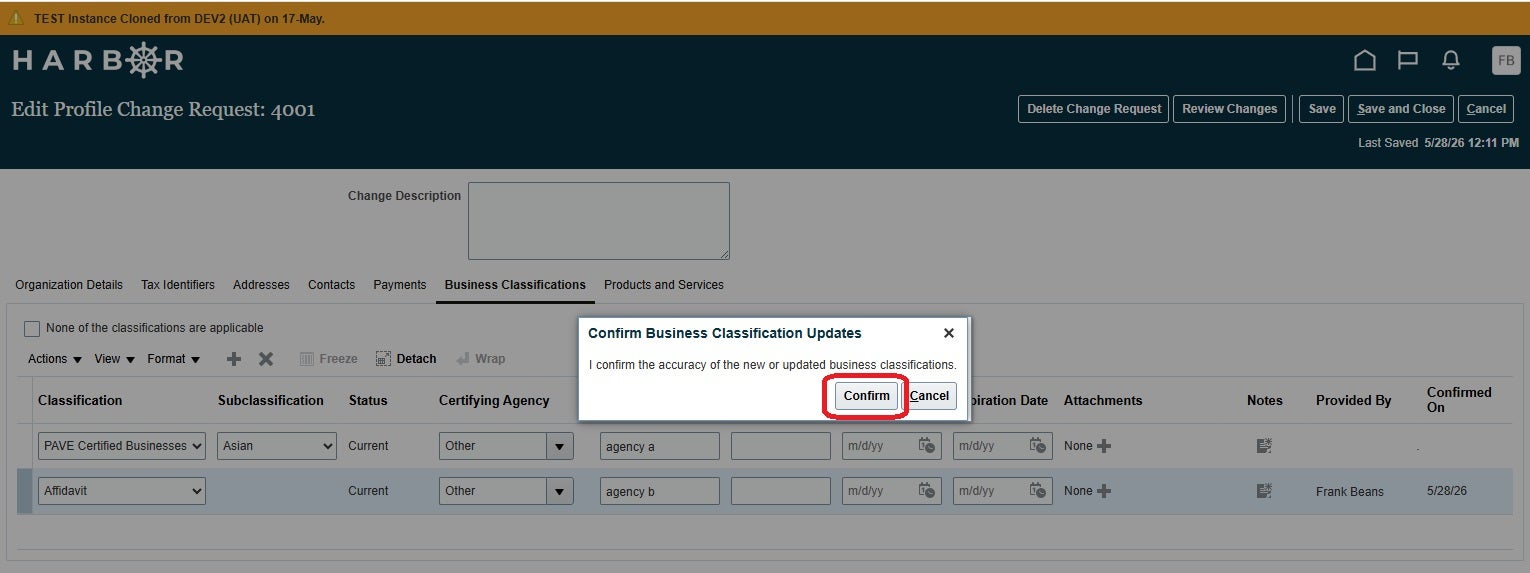
14Select Confirm from popup
15To delete a Business Classification
16Highlight the line you wish to delete
17Select either Actions 🡪 Delete or the X
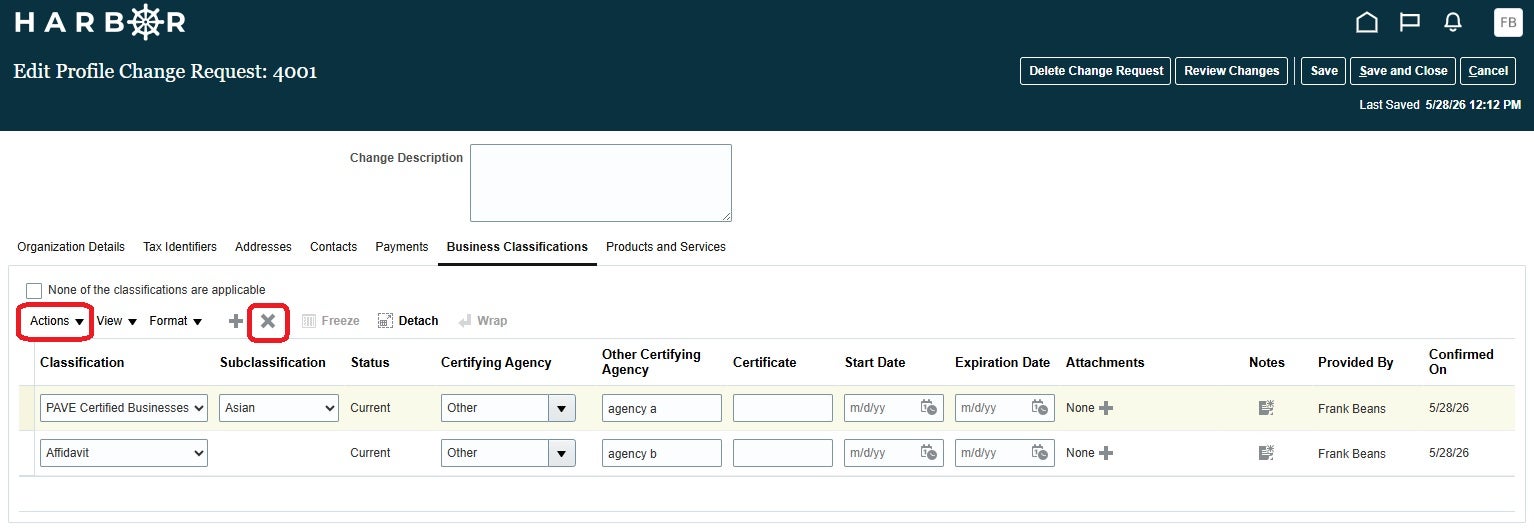
NOTE ensure that you have properly select the line you want to delete PRIOR to selecting actions or the X as there is no confirmation and the
18The Changes may be
- Deleted (no updates made)
- Reviewed and then Submitted – this submits the changes for approval
- Saved – changes are automatically submitted
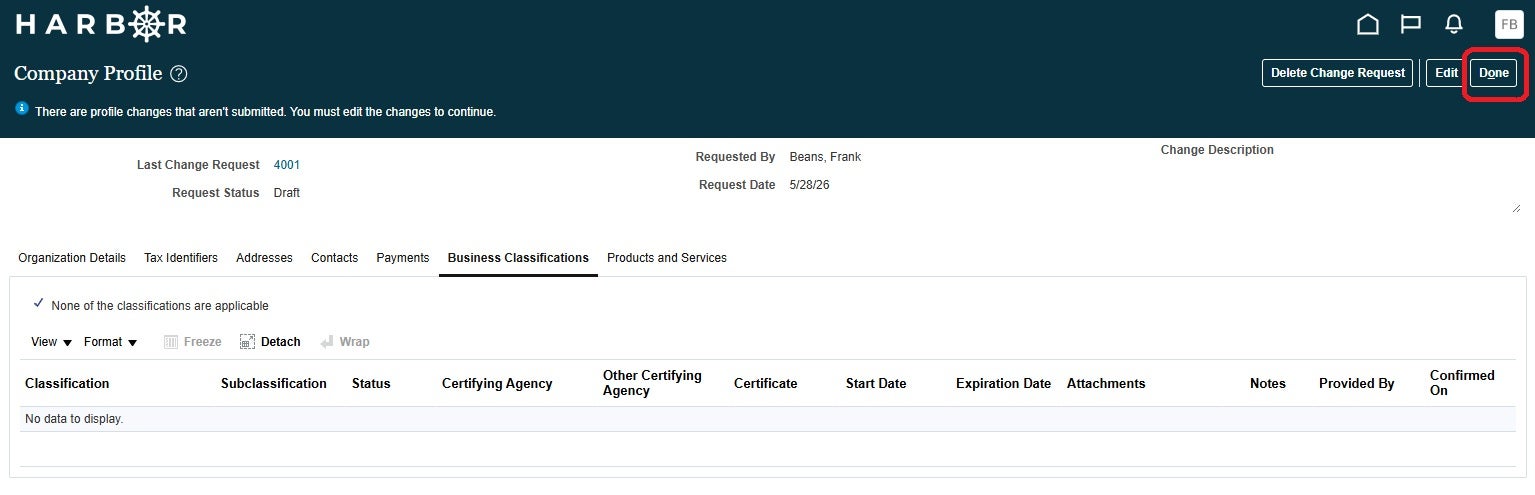
19Select Done to return to Supplier Portal
20Select HOME to return to the main page